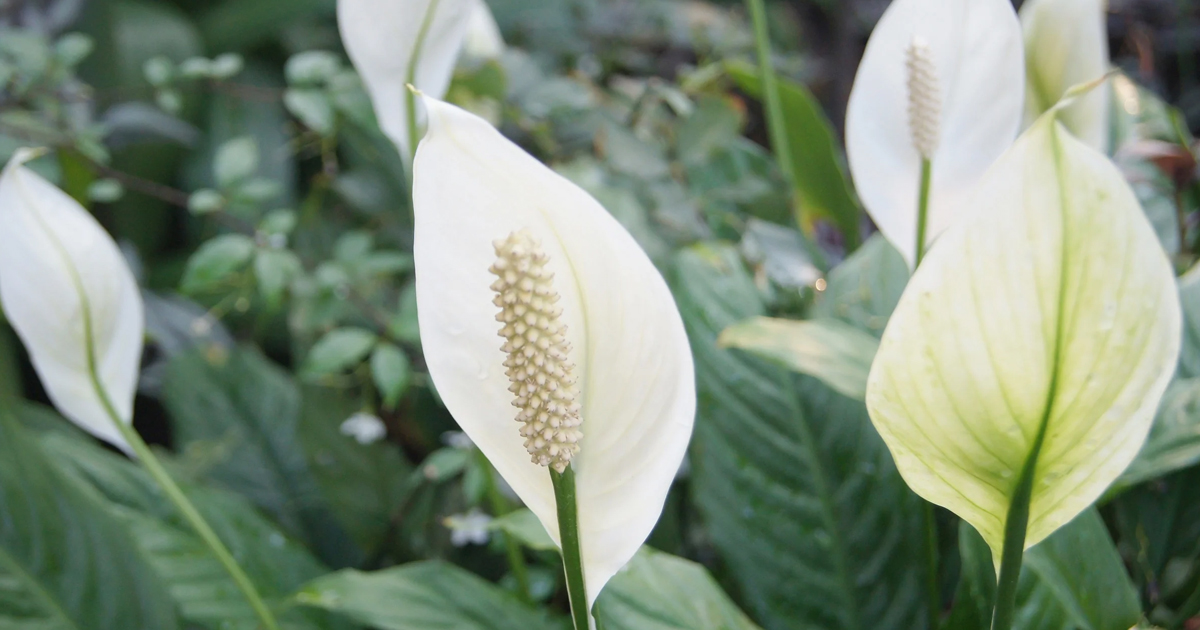
Dark green, dense foliage and elegant white flowers are the most striking features of peace lilies. They are relatively easy to look after and are perfect houseplants that prefer low-light conditions. Peace lilies are best and most easily propagated by plant division. This involves dividing the plant into smaller sections, each with its own root system, and replanting these. In this segment, we would explore peace lily propagation by division, looking at the whole process from preparation to aftercare.
Why Should We Propagate Peace Lily?
Growing more of your peace lilies collection through propagation and giving some to friends and other family members is a great means. There are several reasons why one would need to propagate peace lilies:
- Renewal and Growth: With time, the peace lily becomes pot-bound. It is divided for renewal and growth, which becomes healthier than its crowded state.
- Plant Health: The peace lily division method helps in the control of diseases and pests. Basically, it separates the healthy piece from the unwanted piece such that the new plants will not have diseases.
- Aesthetic Value: Peace lilies can be propagated in order to give a better view in your room by placing them in other locations.
When to Divide a Peace Lily
Peace lilies should be divided when the active growing season sets in, which lies in the period of spring to early summer. The plants, during this time, will have sufficient time to recover from the division process. Do not allow yourself to divide them while dormant in winter, because they easily stress as a response to this behavior.
Before the division process, make sure to have handy all the proper tools and materials to complete it. You will require a clean and sharp knife, even garden shears. You also may want to have some clean, with drainage holes lined up front, some fresh potting mix appropriate for peace lilies, a watering can or a spray bottle, and gloves if you want protection from the plant.
Keep your tools clean so you won’t spread disease. Sterilize the knife or shears by rubbing with alcohol or dipping in a bleach solution to kill any pathogens.
Step-by-Step Instructions for Dividing Peace Lilies
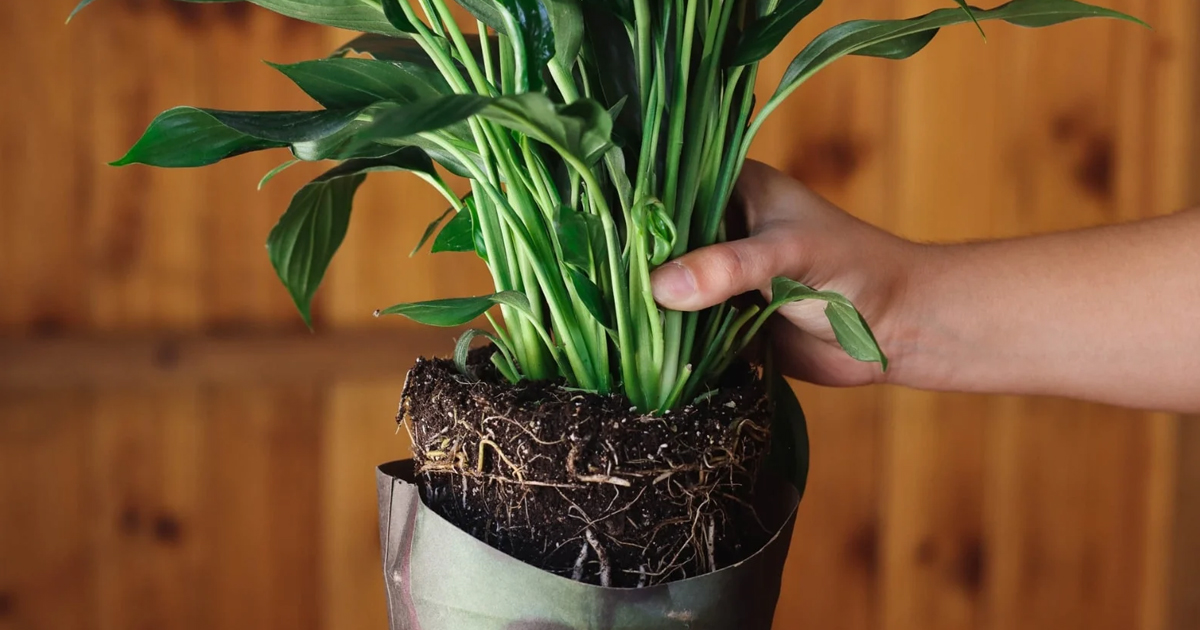
1. Remove the Plant from Its Pot:
Gently remove the peace lily from its pot. If the plant has become root-bound, you will also need to very carefully loosen the roots from the sides of the container. And, of course, you wouldn’t want to damage any of the roots in the process.
2. Inspect the root system:
Now the plant is out of the pot, inspect the root system. Look for natural divisions or clusters in these stems and leaves. A healthy peace lily will have a number of clumps which can be separated from the main body of the plant.
3. Division:
Using your hands or a sharp, clean knife, gently divide the plant into clumps. Each of the divisions should contain a good two or three leaves along with part of its root system. If the root systems are highly congested, you may need to make some gentle cuts.
Trim roots that are too long and scraggly or are damaged. This gives the plant a signal to grow new roots and secure itself more rapidly.
4. Get New Pots Ready:
Add a new good quality, fresh, and well-draining potting mix to new cleaned pots of good drainage capacity. Leave an inch of space just below the rim for the new plants. For each division, dig a shallow hole in the center of the mix for the root system of the plant.
5. Plant the Divisions:
Plant each of the divisions in their new pots, ensuring that the roots are spread out and not compacted. Set potting mix over the roots and push with your fingers to hold the plant in place.
6. Water Thoroughly:
Give the newly planted divisions a good soaking so that the soil settles around the roots. Be sure the pot is adequate and contains a hole for proper drainage so as not to waterlog the plant.
7. Provide Appropriate Care:
The newly divided peace lilies should be placed under indirect light conditions. The plants are put under stress if exposed to any form of bright light during the period of recovery. Water at consistent intervals to maintain soil moisture, which should be moist but not watered.
- Humidity: The peace lily loves high humidity. A humidity tray can be added, or a room humidifier may be used to maintain adequate levels of humidity.
- Temperature: Keep your plant in a warm location, between 65-80°F (18-27°C). Do not allow it to get into cold drafts or sudden changes in temperature.
- Fertilization: After some weeks, begin to feed the plants with balanced water-soluble fertilizer, incorporating as per the manufacturer’s recommended dilution and frequency of application.
- Monitoring: Observe the plants for any stress marks or diseases. Yellowing of leaves, drooping, or stunted growth are indicative of problems with watering, light, and pests.
How to Fix Common Problems
Even With the proper propagation, You may still develop some problems. These are some of the most common ones and how to alleviate them:
Wilting can occur due to not enough water or after-effects of transplant shock. Keep the soil consistently moist, and mist leaves regularly to raise humidity.
- Yellowing leaves: This could signal overwatering, underwatering, or nutrient deficiencies. Adjust your watering schedule or fertilization.
- Pests: Look out for spider mites, aphids, and mealybugs—common houseplant pests. Infestations can be treated with insecticidal soap or neem oil.
Conclusion
Dividing peace lilies is a very easy and rewarding process that will allow you to have more plants and keep your collection fresh. With the steps provided in this article, you will be able to divide the peace lily and spread that ambiance into home decor in several other parts of your home. When taken good care of, your newly divided peace lilies will flourish and bring joy and greenery to your indoor living space.