Composting is a natural, inexpensive, and environmentally friendly process for recycling waste by decreasing the load on landfills and producing structured, rich soil for plants. Kitchen composting refers to innovative food leftovers processed directly from your own houses into highly valued compost. Whether small apartments or large backyards, everyone can compost in their kitchens. All that information will guide you through the basics of setting up to maintenance and maintenance for a healthy composting system.
Why Compost?
Some very excellent reasons to compost include:
- Reduces Waste: Compostable materials—food scraps and yard waste—compose about 30% of what we send to landfills. Keeping these organics out of landfills reduces methane production, lowering our carbon footprint.
- Enriches Soil: Rich in nutrients and acting as a natural fertilizer, compost improves the structure of the soil, helping it to hold water and provide plants with what they need in nourishment.
- Saves Money: Composting at home can reduce the usage of commercial fertilizers and soil conditioners.
- Promotes Sustainability: It supports the sustenance way of life in that it reuses natural materials and reduces the usage of synthetic manures.
Getting Started: What You Need
Get started with kitchen composting; here are some of the basic things you will need:
- Compost Bin: Select from the huge varieties of composting bins out there, which is going to work for you and your space. For small amounts of work, there are countertop models; for bigger ones, there are larger outdoor tumblers. Look for one with a tight-fitting lid to contain odors and keep pests out.
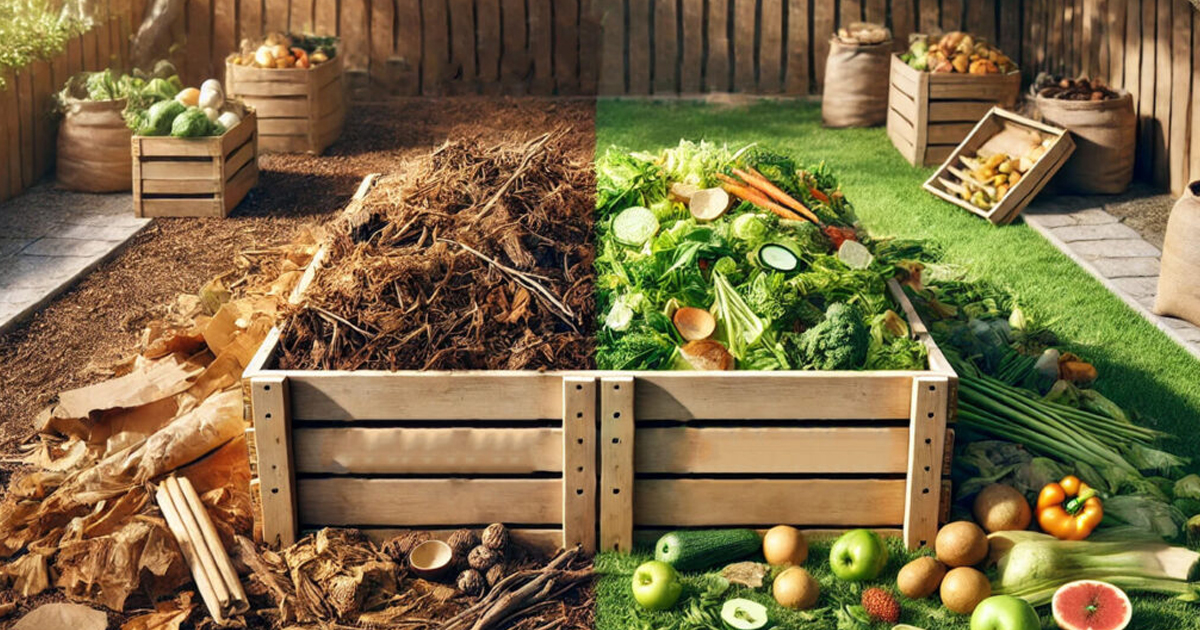
- Compost heaps are mixtures containing carbon-rich material and nitrogen-rich material. Browns include fallen leaves, cardboard and paper, while greens are food scraps or fresh plant material.
- Where: Decide where you will store your compost bin. Indoor bins fit under the sink or a pantry, and outdoors require some dry, shady location.
What Can You Compost?
This means that a correct mix of composting materials is required to make the composting process work fully effectively. So, here’s the list of scraps from the kitchen you can add to the compost:
- Vegetable and fruit peelings: apple cores, banana peels, carrot tops, and citrus rinds.
- Coffee grounds and filters: Used coffee grounds and paper filters.
- Tea Bags: Only those which are not made of synthetic material.
- Eggshells: Crushed eggshells provide calcium in the compost.
- Grains and Bread: In small amounts
- Nutshells: Except walnut hulls, that contain juglone, a pernicious material on the compatibility of some plants.
Exclude meat, dairy, oils, and cooked food as they are food for pests and smell bad.
Setting Up Your Compost Bin
- Prepare the Bin: Coarse material at the bottom of the bin- allows for air to get in and allows drainage Thin branches or straw is okay.
- Add Browns and Greens: Alternate layers of browns and greens; for the best rate, about 3 parts of browns to 1 part of greens. This is about getting the perfect moisture and carbon-to-nitrogen balance.
- Keep it moist: It should feel like a wrung-out sponge. Too dry, add water or more green materials; too wet, add more browns and turn to compost increase aeration.
Maintaining Your Compost
Good maintenance will help everything compost well. Here are tips for keeping your compost in good health:
- Flip the Compost: Many a time, turning or mixing your compost is an excellent way to aerate it and increase decomposition, which thus avoids foul odors.
- Monitor the Moisture Levels: Check periodically how moist the pile is and add as per requirement. Too much water generally results in a smelly anaerobic pile, while too little will make the decomposition process slow.
- Chop or Shred Materials: Small pieces break down faster. Chop or shred larger items before putting them in the bin.
- Balance Greens and Browns: Put in a mix of greens and browns on a regular basis. This will keep the right carbon-tonitrogen mix.
Troubleshooting Common Composting Problems
Even well-managed compost piles can have issues. Here are the solutions to common problems :
- Odor: Bad odors are likely due to excess greens with not enough browns, or the pile is not getting enough aeration. Add more browns and turn the pile regularly.
- Pests: Keep the pile free of pests by burying food scraps in the middle of the pile; avoid the addition of meats, dairies, and oily foods into the pile; keep your bin covered.
- Slow Decomposition: If nothing seems to be breaking down in your compost pile, likely it is too dry or too wet, or too full of browns or too many greens. Another solution would be to shred materials before putting them in the pile and turn over the heap more often.
Harvesting Your Compost
Some compost is ready in a few months, depending on the nature of composting or according to climatic conditions; it could be up to one year. Finished compost should be dark, crumbly, and have an earthy aroma. Here’s how to harvest it:
- Stop Adding New Materials: Stop adding new materials during the last few weeks before harvest so that there is enough time for maturation of the compost.
- Separate Finished Compost: Use a screen or sift to separate completed compost from larger, unfinished materials in the mix. Unfinished materials get added back into the bin.
Finally, Use Your Compost: Your compost is now ready for use in your garden beds, adding it to potting soil, or for mulching. Your plants will appreciate the influx of nutrient dense organic matter.
Vermicomposting: An Alternate Method
If you are short of outdoor space or would prefer composting indoors, vermicomposting may be the way to go. Vermicomposting depends on worms to break down organic trash quickly and efficiently. Here’s the scoop on :
- Build a Worm Bin: Buy a worm bin or build one with good aeration and drainage. Add a handful of damp bedding.
- Add Worms: Add the worms—red wiggler varieties are very good at composting and do well in a worm bin.
- Feed the Worms: Add small amounts of food scraps into the worm bin and then cover it with bedding. Allow the worms to avoid as much as possible meat, dairy, and citrus.
- Harvest Worm Casting: After several months, your worms will have produced a highly valued nutrient-rich casting that can then be harvested for use as an organic fertilizer.
Conclusion
Composting in the kitchen is one way through which people can waste less, create something useful and live sustainably. With these guidelines and a little care for your compost system, you’ll be off to a good start, turning everyday kitchen scraps into an asset-rich, natural soil amendment that your plants and the environment will love and appreciate. Whether it is traditional composting or vermicomposting, the payoffs from kitchen composting make it well worth your time and trouble. Good composting!