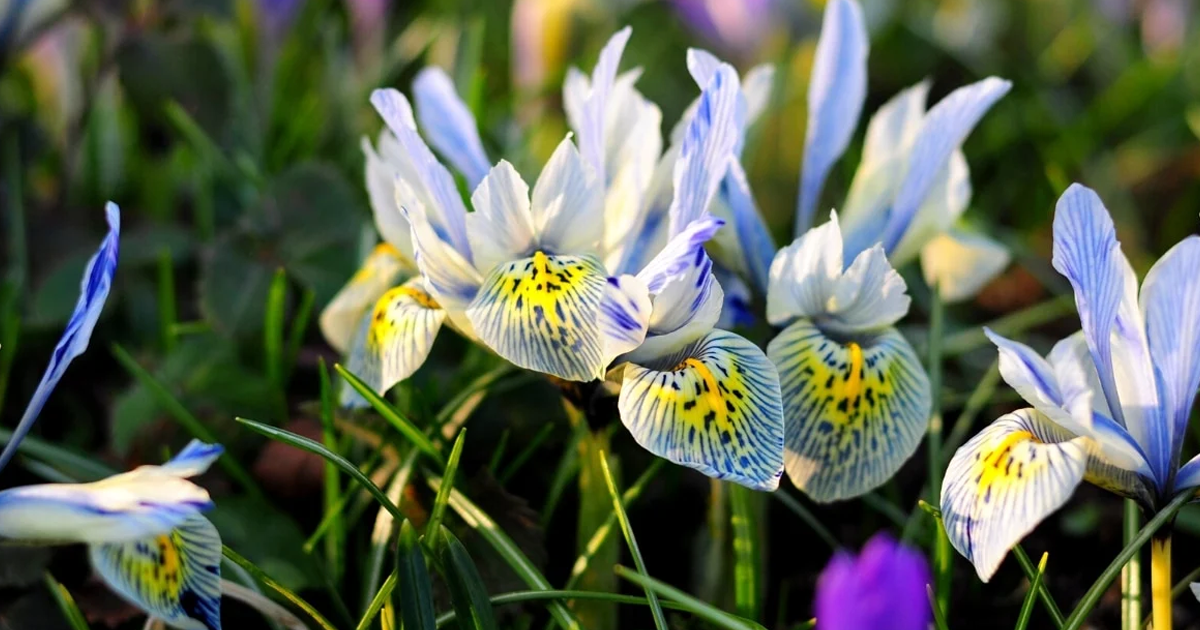
Irises are among the most strikingly beautiful and hardy perennials in the garden. Their vibrant colors and unique blooms make them a favorite among gardeners all over the world. But to keep your irises healthy and blooming to their full potential, you have to divide and transplant them every few years. This guide will walk you through the process, ensuring your irises thrive for years to come.
Why Divide and Transplant Irises?
Irises grow from rhizomes, thick horizontal stems that spread out just below the soil’s surface. Rhizomes can become crowded over time, which leads to reduced blooming and increased susceptibility to pests and diseases. Dividing and transplanting irises every 3-5 years helps to:
- Promote Healthy Growth: Prevent overcrowding and competition for nutrients.
- Encourage Blooming: Overcrowded irises often produce fewer flowers.
- Control Pests and Diseases: Remove old or diseased rhizomes.
- Expand Your Garden: Grow new plants to distribute across your garden or give to your friends.
When to Divide and Transplant Irises
It is the best time to divide and transplant the irises during late summer to early fall, usually 4-6 weeks after they have completed blooming. This helps ensure they develop their roots before winter. Time it for a cool, dry day, making it easier for both you and the plants.
Tools and Materials Needed
Before starting, make sure you have the following tools and materials:
- Garden fork or spade
- Sharp knife or pruning shears
- Garden gloves
- Bucket or container for rhizomes
- Compost or fertilizer
Step-by-Step Guide to Dividing and Transplanting Irises
Step 1: Prepare the New Planting Area
- Select a Sunny Location: Irises love full sun, getting at least 6 hours of direct sunlight per day.
- Prepare the Soil: The soil should be able to drain well. Add compost or sand to improve heavy clay soils, while adding organic matter to light sandy soils.
- Remove Weeds: Clear the area of weeds to reduce competition for nutrients and water.
Step 2: Dig Up the Iris Clump
- Use a garden fork or spade to gently loosen the soil around the iris clump. Be careful not to damage the rhizomes.
- Lift the clump out of the ground, keeping as much of the root system intact as possible.
- Shake off excess soil to expose the rhizomes.
Step 3: Divide the Rhizomes
- Inspect the rhizomes for rot, pests, or disease. Reject any that are soft, mushy, or damaged.
- Cut the rhizomes into sections using a sharp knife or pruning shears. Each section should have:
- At least one healthy fan of leaves
- A firm, plump rhizome. A few roots attached
- Trim the leaves to about 6 inches in length. This reduces water loss and makes the plants easier to handle.
Step 4: Plant the Rhizomes
- Plant the rhizomes 12-18 inches apart to allow for growth.
- Position the rhizome horizontally with the roots spread out beneath it. The top of the rhizome should be just at or slightly above the soil surface.
- Backfill and firm. Fill in the roots with soil and press down gently to eliminate air pockets.
- Water Well – Water the newly planted rhizomes to help settle the soil.
Step 5: Mulch and Care
- Apply a thin layer of mulch around the plants to retain moisture and suppress weeds. Avoid covering the rhizomes, as this can cause rot.
- Water lightly. Irises prefer well-drained soil and will rot if it is too wet.
Transplanted Iris Care
- Watch for Growth: Monitor the plants frequently for stress or pest signs.
- Fertilize: Apply balanced fertilizer in early spring and again after blooming to support growth and flowering.
- Remove spent blooms: Deadhead the flowers to encourage the plant to channel its energy to root development.
Troubleshooting Common Issues
- Yellowing Leaves: This often means the plant is either overwatered or under poor drainage. Make sure the rhizomes aren’t buried too deep.
- No Blooms: It might be due to overcrowding, poor sunlight, or bad soil. Make sure there is enough space and the soil is amended if necessary.
- Pests: Look for signs of iris borers, which can damage rhizomes. Remove affected parts and apply appropriate treatments.
Expanding Your Garden
Divide irises not just refreshes your plants but also leaves room for you to branch out. You can get new beds, try combining colors, or share any extras with friends and even neighbors. You can, therefore, label the kinds so that you can devise your garden’s design as best as possible.
Conclusion
Dividing and transplanting irises is a straightforward process that yields significant rewards. By following this step-by-step guide, you’ll ensure your irises remain healthy, vibrant, and a stunning focal point in your garden. With proper care and attention, your efforts will result in a breathtaking display of blooms season after season.